Process video of designing and making the paper mockup:

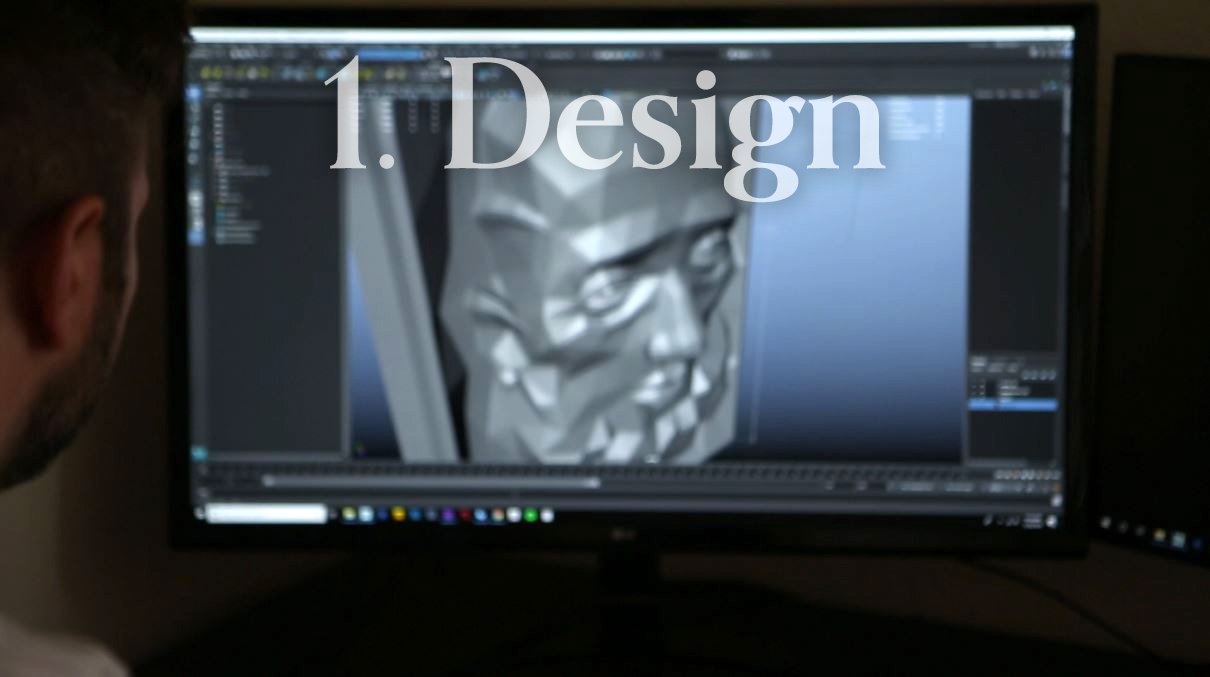
The first step is the most creative part, hands down. Anything goes in 3D software so I test out what I think is the absolute coolest thing. After that, I ground it in reality. Would I be able to fit my hands in there to weld? How do I balance it so it doesn’t tip over?

I print out the design on paper and cut out all the parts. Razorblade and ruler - Nothing fancy. These are the template pieces I will use for the foamcore mockup and, if it all works out, the metal parts.

Here I use the template pieces for the first time, tracing them onto foamcore, where they are cut out once again. When it’s all assembled I have a much better sense of the size and feel in the real world. At this stage I decide to go back to the design process or keep going.

If it all feels good I take the paper parts and trace them onto sheet metal. After cutting them out I use an angle grinder to clean up the edges and put them into organized piles.

The foamcore mockup I built also serves as a guide to where the parts go. This allows me to not stay tethered to the computer anymore. I use the mockup to line up the corresponding metal parts and tack-weld. These are tiny welds that still allow me to adjust the angle of the adjacent parts until they’re correct.

Once everything is assembled I have an opportunity to examine it and make some changes to how it feels. Metal is much less forgiving in the way it fits together so it could look slightly different than the paper mockup. Then I weld it up completely. Stainless steel holds onto heat much longer than mild steel so it’s important that the welds are short and that I move to different areas often.

Once all the welding is finished, it’s time to grind and shape the piece. The welds that get removed have to be done carefully. If I grind away too much, I expose the cracks between each part. The goal is to leave it all one, seamless piece.

Removing the welds leaves me with a very rough piece. Sometimes that’s appropriate but, more often, I want to control the way the light is reflected off the surface. Metal is very picky and one tiny scratch is easily seen if the light hits it the wrong way. Handheld lights to skim the surface come in handy here.

Time for final touches such as leveling feet, mounts, or anything that gives it the extra finished look. This last 10% is what changes the piece from good to great. It’s the hardest place to be but it’s all worth it in the end.